


Quick Answer
Eyes in the Sky is an ARC Raiders quest from Shani, unlocked after A Lay of the Land. You must install three LiDAR Scanners — on the Control Tower at Dam Battlegrounds, the Communications Tower at Spaceport, and the Galleria sign at Buried City. You’ll need a zipline for Buried City, and rewards include crafting materials and quest progression toward Shani’s storyline.
Three towers, three maps, one zipline, and a whole lot of nervous glances over your shoulder — that’s what the Eyes in the Sky quest actually feels like once you’re in it. On paper it sounds simple. In practice, it’s one of the more tense mid-game objectives in ARC Raiders, and a surprising number of players get stuck on it for the wrong reasons.
Here’s what nobody tells you upfront: this quest isn’t really about the scanners themselves. It’s about surviving the journey to place them, because two of the three locations sit in some of the most contested real estate on the Rust Belt. If you’ve been searching for a clean, no-fluff walkthrough of eyes in the sky arc raiders, you’re in the right spot. This guide covers the full objective breakdown, exact locations, gear you’ll want, common mistakes, and what you get for finishing it.
By the end, you’ll know exactly where to go, what to bring, and how to avoid dying halfway through a quest that should’ve taken you ten minutes.
What Is Eyes in the Sky and Why It Matters
Eyes in the Sky is a story quest given by Shani after you complete A Lay of the Land. She wants better intel on ARC activity across the Rust Belt, and the plan is to plant LiDAR Scanners at three elevated points so her team can monitor signals instead of relying on guesswork.
Mechanically, this matters because ARC Raiders ties a good chunk of its narrative progression to quests like this one. Skipping it or getting stuck means you stall Shani’s questline, and you miss out on the gear she hands out as rewards. This quest is also a soft gear check — it nudges you toward using ziplines and breaching tools you might have been ignoring.
There’s also a practical side benefit. The three locations — Dam Battlegrounds, Spaceport, and Buried City — are all high-traffic loot zones. Even if the scanner objective feels like a chore, you’ll walk away with a mental map of some of the best real estate on each map.
Pro Tip: Do this quest in three separate short runs rather than trying to knock all three out in one long session. Fatigue leads to sloppy decisions near the Control Tower turret, and that’s usually where runs go wrong.
How Eyes in the Sky Actually Works
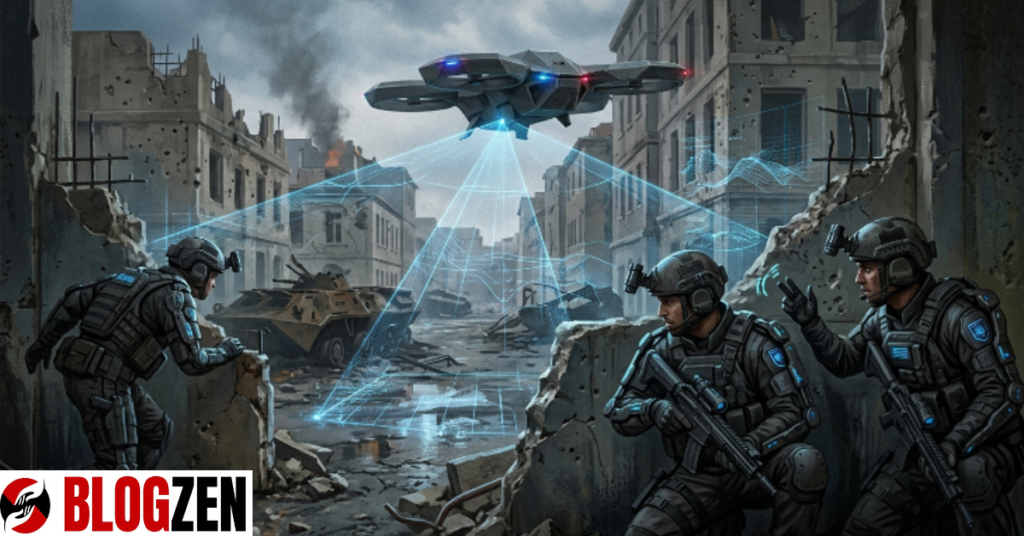
The quest requires three LiDAR Scanners, which you should already have from earlier progression at Spaceport. Each scanner gets placed on a tripod at a specific high point, and the game tracks completion per map, so you don’t need to do them in any particular order.
Here’s the breakdown of what’s actually required:
- Dam Battlegrounds — Install a scanner at the top of the Control Tower, near the center of the map.
- Spaceport — Install a scanner at the Communications Tower on the eastern side.
- Buried City — Install a scanner on top of the Galleria sign, which requires a zipline to reach.
The Spaceport leg is genuinely the easiest of the three. You climb a ladder, reach the platform, interact with the tripod, and you’re done. The Dam Battlegrounds and Buried City legs are where the real challenge lives, because both involve breaching doors, ziplines, or reaching rooftops that other raiders actively contest for loot.
Think of it this way: the game is quietly testing whether you’ve learned to use verticality and mobility gear, not just gunplay.
Common Mistakes People Make With This Quest
The single biggest mistake is walking into the Dam Battlegrounds Control Tower fully geared with your best loadout. That area is a PVP hotspot precisely because of the rare loot nearby, and a heavy loadout just makes you a bigger target if things go wrong.
Another frequent error is skipping the zipline requirement for Buried City. Some players assume they’ll find one on-site and head in without one, only to realize the Galleria sign is unreachable without it. You do not need to extract to complete any part of this quest, so there’s no reason to overprepare for the scanning objective itself.
Players also underestimate the turret near the Control Tower zipline. Rushing straight up without baiting it out first is how a lot of runs end early.
Pro Tip: Let the Control Tower turret fire at you once from a safe angle, then use the zipline’s speed to close the gap and destroy it before it gets a second shot.
Expert Tips and Proven Strategies
Veteran raiders treat Eyes in the Sky as a loadout-light quest by design. Since extraction isn’t required for objective completion, you can afford to go in minimal and focus entirely on mobility and awareness.
A few strategies that consistently work:
- Call out “friendly” immediately if you trigger traps or run into other raiders near the Control Tower — it defuses a surprising number of encounters.
- Bring a spare zipline even if you expect to find one on the map, since contested areas often have gear picked clean early in a match.
- Treat the rooftop key room at Dam Battlegrounds as optional loot, not a requirement — don’t let greed turn a five-minute objective into a firefight you didn’t need.
The core takeaway here is patience over speed. Rushing the Control Tower is the number-one cause of failed attempts, according to most community walkthroughs and guides covering this quest.
Real-World Scenarios: What Each Location Actually Feels Like
At Dam Battlegrounds, expect tension. This is a linear corridor with a breachable door, a turret, and frequently another raider or two also chasing the same objective. Most experienced players describe it as the “make or break” leg of the quest.
Spaceport, by contrast, is close to a non-event. The Communications Tower area sees far less foot traffic, and the ladder-climb-and-place routine takes under two minutes for most players.
Buried City sits in the middle. The Galleria sign itself isn’t heavily guarded, but reaching it demands correct zipline placement, and a missed shot means backtracking. Comparing the three legs side by side makes the difficulty gap obvious:
| Location | Difficulty | Key Requirement | Main Risk |
|---|---|---|---|
| Dam Battlegrounds (Control Tower) | High | Zipline + breach | PVP encounters, turret |
| Spaceport (Communications Tower) | Low | Ladder climb | Minimal |
| Buried City (Galleria sign) | Medium | Zipline | Missed placement, backtracking |
Step-by-Step Guide to Completing Eyes in the Sky
Follow this order to minimize risk and wasted time:
- Start with Spaceport to bank an easy win and confirm your scanners are ready.
- Move to Buried City next, bringing a zipline, and place the scanner on the Galleria sign.
- Save Dam Battlegrounds for last, since it’s the highest-risk leg and you’ll want full focus and no fatigue.
- At the Control Tower, bait the turret before zip-lining up.
- Breach the door, avoid the key room unless you’re geared for a fight, and place the final scanner.
- Report back to Shani to collect your rewards.
This order isn’t mandatory, but doing the hardest objective last, once you understand the mechanics from the easier two, dramatically improves your odds.
Myths vs Facts About Eyes in the Sky
A lot of misinformation floats around this quest, so let’s clear it up.
Myth: You need to extract successfully from each map to complete the objective. Fact: You only need to place the scanner — extraction is optional and only matters for keeping your loot.
Myth: The Galleria sign scanner can be reached without a zipline if you find the right ladder. Fact: A zipline is required; there’s no ladder workaround at Buried City.
Myth: This quest gives major weapon rewards. Fact: Rewards lean toward crafting materials and gadgets, not top-tier weapons, so treat it as a progression unlock rather than a loot piñata.
Eyes in the Sky isn’t a hard quest mechanically — it’s a patience test dressed up as a scanner-placement task. The three things worth remembering: go loadout-light since extraction isn’t required, save the Control Tower for when you’re focused, and always carry a spare zipline. Get those three right and you’ll clear this in one solid session instead of three frustrating ones.
Which leg gave you the most trouble — the Control Tower turret, or the Galleria zipline shot? Drop your run in the comments, and check out our guide on ARC Raiders’ best early skills to keep your momentum going into the next questline.
Every raider remembers their first Control Tower turret fight. Make sure yours ends with loot, not a respawn screen.
FAQs
What map order is best for the Eyes in the Sky quest in ARC Raiders?
Most experienced players tackle Spaceport first since it’s the safest, followed by Buried City, and save Dam Battlegrounds for last. This order lets you build confidence and confirm your gear before facing the toughest leg. It also means if you’re going to fail one attempt, it happens early rather than after a long, risky run.
Do I need to extract to finish Eyes in the Sky?
No. You only need to successfully place each LiDAR Scanner at its tripod location. Extraction only matters if you want to keep loot you picked up along the way. This is why many raiders bring a minimal, low-cost loadout for this quest specifically.
What gear should I bring for the Buried City leg?
Bring at least one zipline, since the Galleria sign is unreachable without it. A few tips for this leg:
- Carry a spare zipline in case the first placement misses.
- Scout the area briefly before committing to the climb.
- Avoid heavy loadouts — the area isn’t typically PVP-heavy, so mobility matters more than firepower.
Why is the Dam Battlegrounds Control Tower so dangerous?
It sits near rare loot, which draws a steady stream of other raiders. Combine that with a turret guarding the zipline route and a breachable door corridor, and you get one of the most contested small spaces in the game. Timing and patience matter more than raw gear here.
What rewards do I get for completing Eyes in the Sky?
You’ll receive crafting materials, gadgets like tagging grenades and light sticks, and progression toward Shani’s broader questline. It’s not a weapon-focused reward quest — it’s meant to move the story and your gadget stock forward rather than hand you top-tier gear.
Can I do the Eyes in the Sky quest solo?
Yes, all three objectives are soloable, though the Control Tower leg is noticeably riskier alone since you won’t have backup if another raider engages. If you’re playing solo, prioritize caution over speed and be ready to disengage rather than fight. VISIT BLOZEN
